Magnetic Reset Switch for Waterproof RileyLink Case
The Magnetic Sensor v 3.1
This is a quick preview of the now working magnetic reset switch for RileyLink to be used inside a waterproof case in the event the RileyLink requires a power cycle reset. Also included are some review of the past iterations.
Just a warning here: We are not really sure what it means to completely encase a LIPO battery here so please do this at your own risk if you are going to do untying mentioned on this website.
As with the previous versions of waterproof cases, it is made from two bonded 1/2″ (12mm) thick milled acrylic plexiglass glass.
Often enough, RilelyLink errors out and requires a manual power cycle using the builtin slider switch. But, having it encased semi-permanently inside this waterproof case prohibits any meaningful reset attempts (other than draining the battery completely and then recharging it with the Qi charger), a magnetic “remote” switch was sought for. We used to have a version with a screw on port hole but we opted to rid that as the screw was made from metal next to the bluetooth antenna for a possible fear of degraded gain.
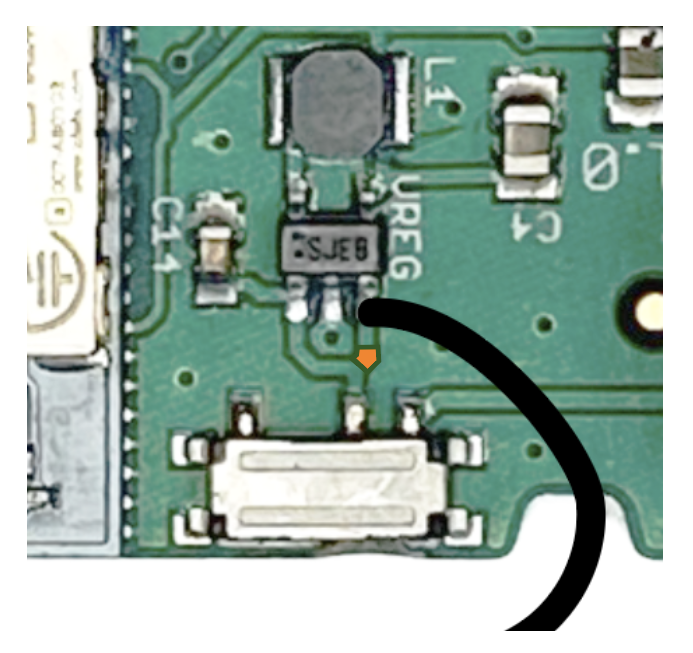
This version of the magnetic switch is much simpler in design compared to the previous versions using a p-channel MOSFET. This one uses only two transistors and directs the main current down a resistor to the ground momentarily when a magnet is detected by a U-18 Hall effect sensor. **
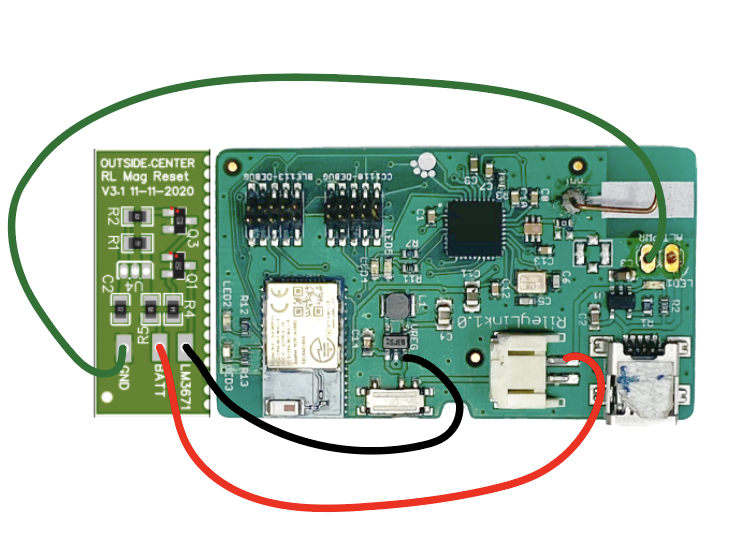
It is probably a cleaner design if this is used only for the Enable Pin (3) of the LM3671 instead of being connected to that and the Pin #1 as it is with the original Rileylink PCB. We will explore this soon:
We should be getting a delivery of a few dozen semi-completed PCB for the magnetic sensor. We will ship them for free (as long as USPS allows them to be ship using a standard envelope), with an U-18, if anybody want to use them. Please comment on the YouTube link on the top of this post, if so. We will figure out how to send them to you. Let’s say, the first 20 boards.
You can download the schematic and the PCB design here if you like to mess around with it.
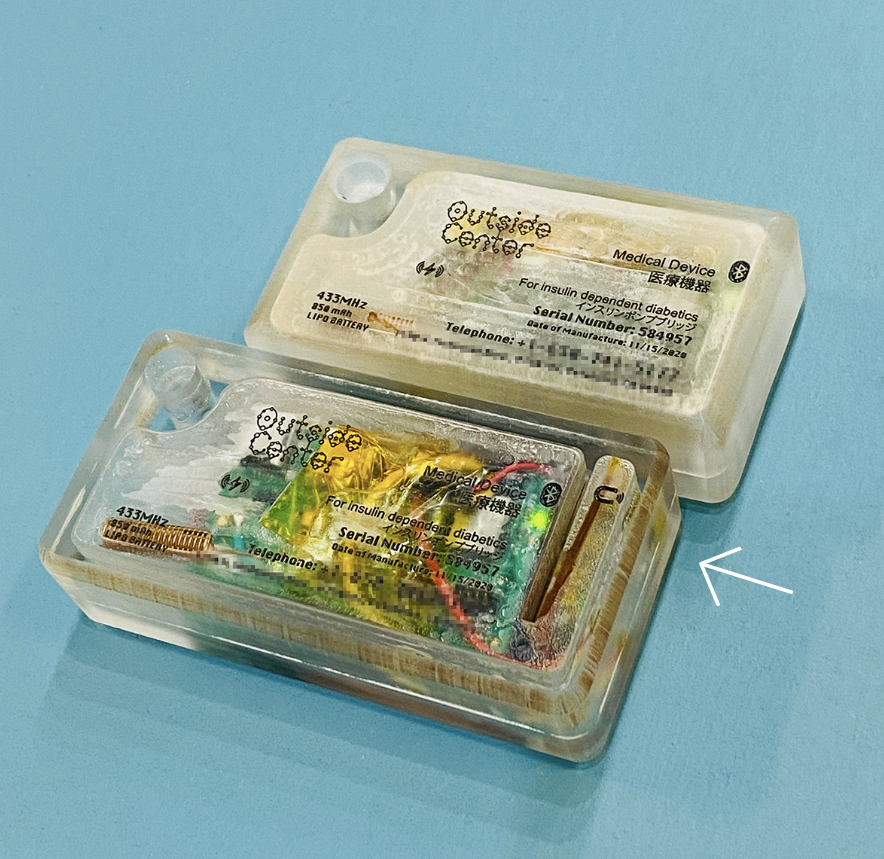
The Waterproof Case Design
The latest design for the waterproof case:
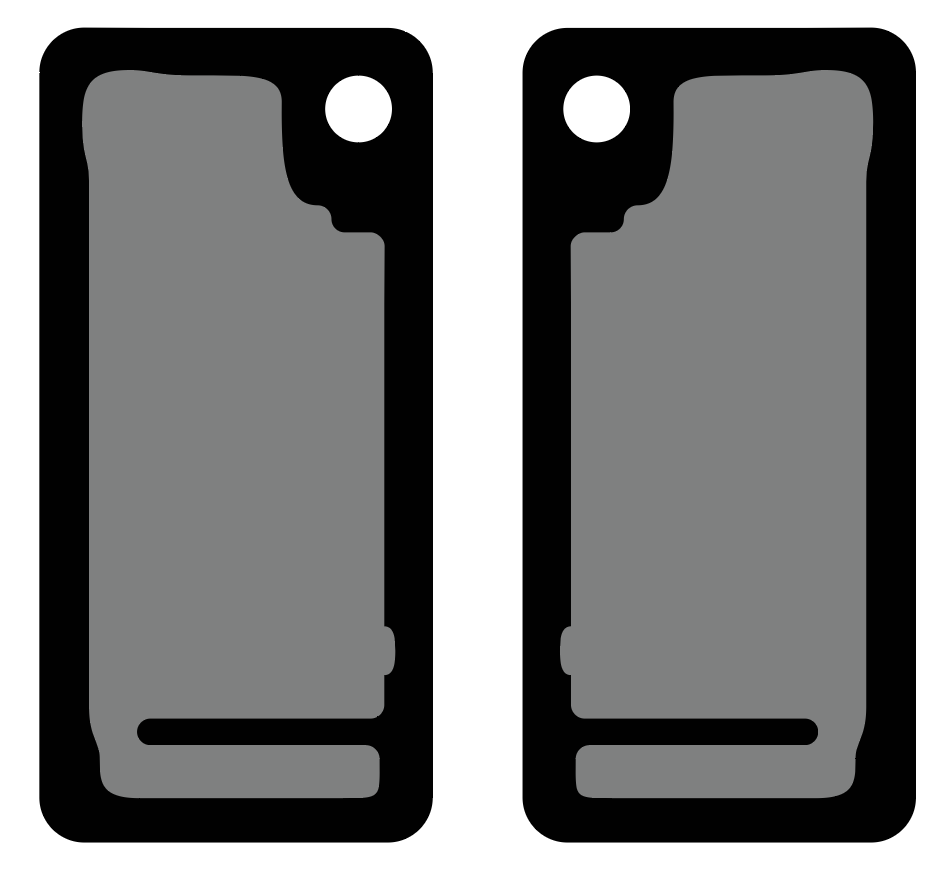
We used 1/2 inch (12mm) acrylic plexiglass plates as before. You can get them in the remnant/scrap bins of local plastics store. The gray area are milled down 8.5mm. The svg file can be downloaded here.
The letterings on the case were created by first CO2 laser etching the surface (probably 0.5mm deep?) and filling it with oil based letterpress (!!) ink. The excess ink was wiped using paper towels and finished with kimwipe equivalents. It takes a few days to cure. The case was sanded down with 220 grit sand paper for the frosted look:
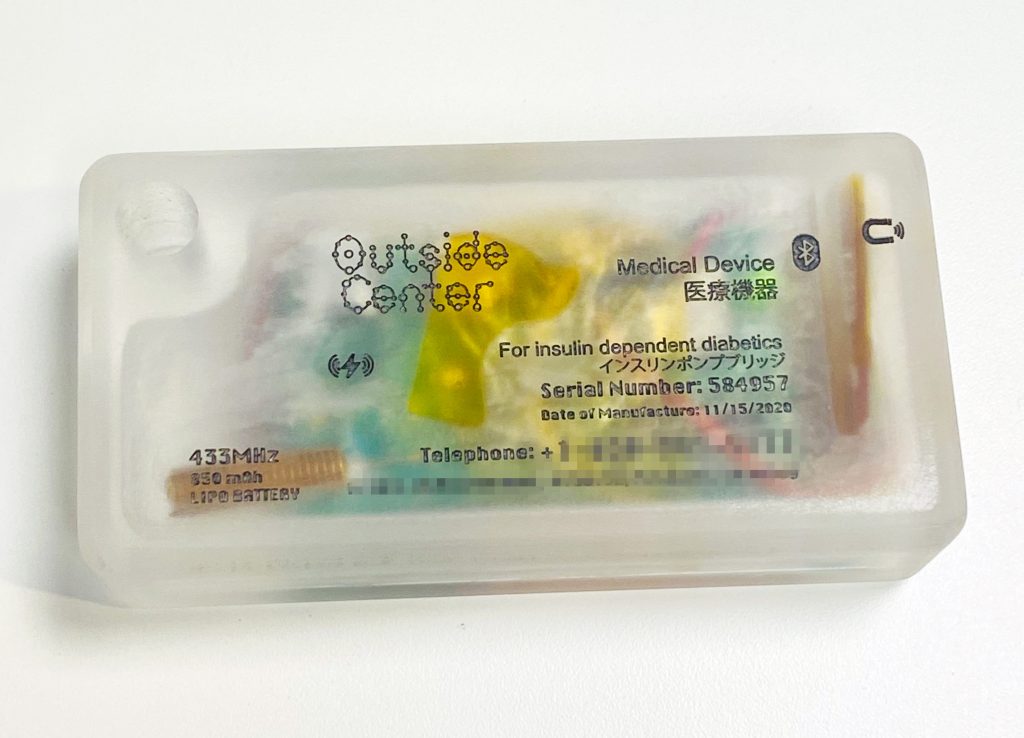
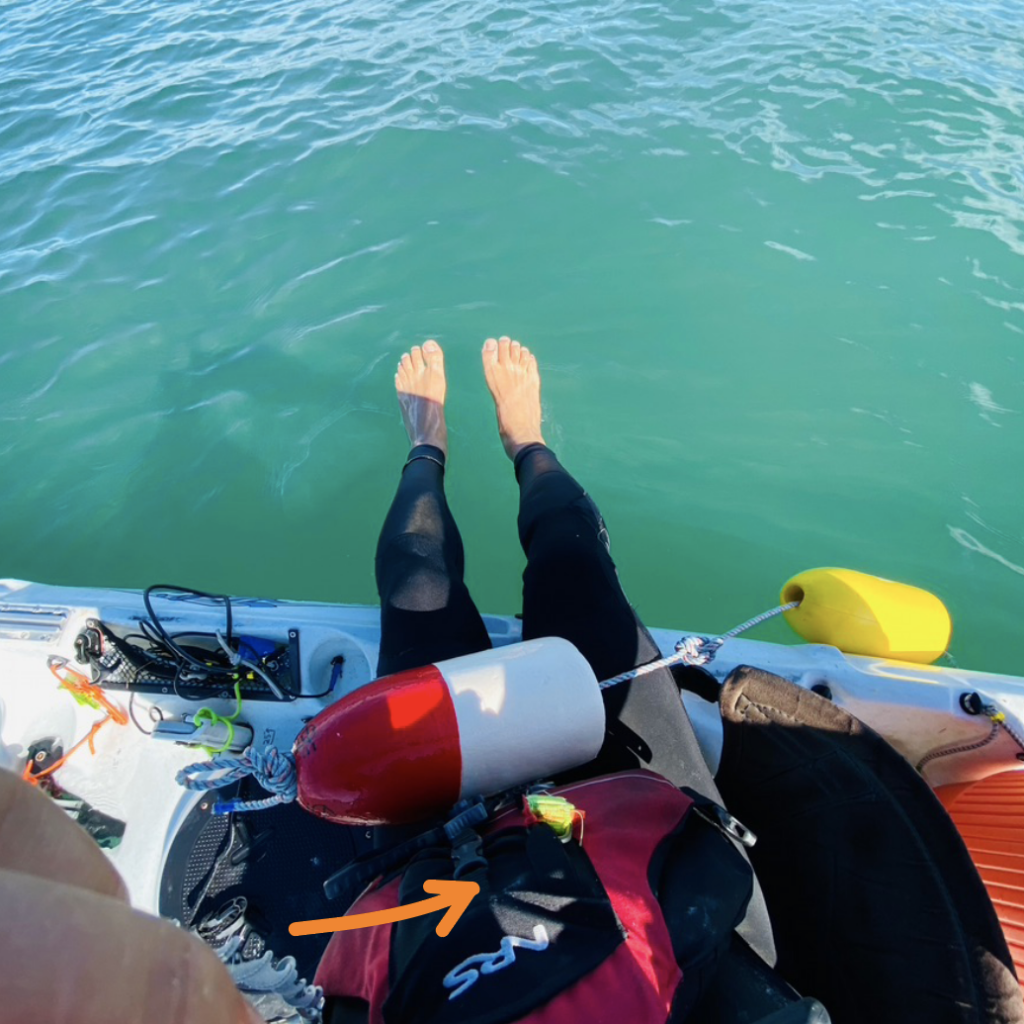
The first working Qi charging waterproof case design lasted almost a full year. Unfortunately, the builtin vent-hole (about 2mm in diameter) was not taped up when the “user” fell in Brule River in Wisconsin trying to fly-fish… The water could be seen inside the case, submerging both the PCB and the battery. Surprisingly, it operated for a few more minutes. Later, it appeared that only the battery shorted out but the PCB was still working!!!
We recommend all users of RileyLinks who do not intend to encase it into a waterproof casing to apply a decent coat of some sort of conformal coatings. Typically, we’ve used this:
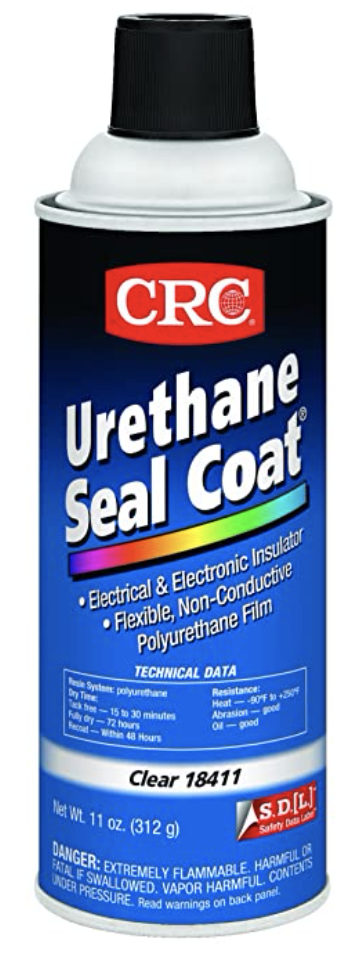
You can see it being applied here:
** We are using an outdated U-18 Hall effect sensor because we have a ton on hand 🙂
UPDATE:
So a bit of catch up here: per a comment from a YouTube viewer:
The version you see on this one broke. I think the Qi charger unit I used overheated. It’s slightly larger than the one I am using in a temporary case (Believe it or not, in an old GoPro waterproof case). The whole case got really hot during charging sessions.
And since the inside area (other than the antenna region) were potted with expoxy I have no practical ways to figure out what really went wrong.
(I potted with epoxy hoping it would improve with thermal conductivity of all the components inside to be in contact with the outside case… But who knows what happened.)
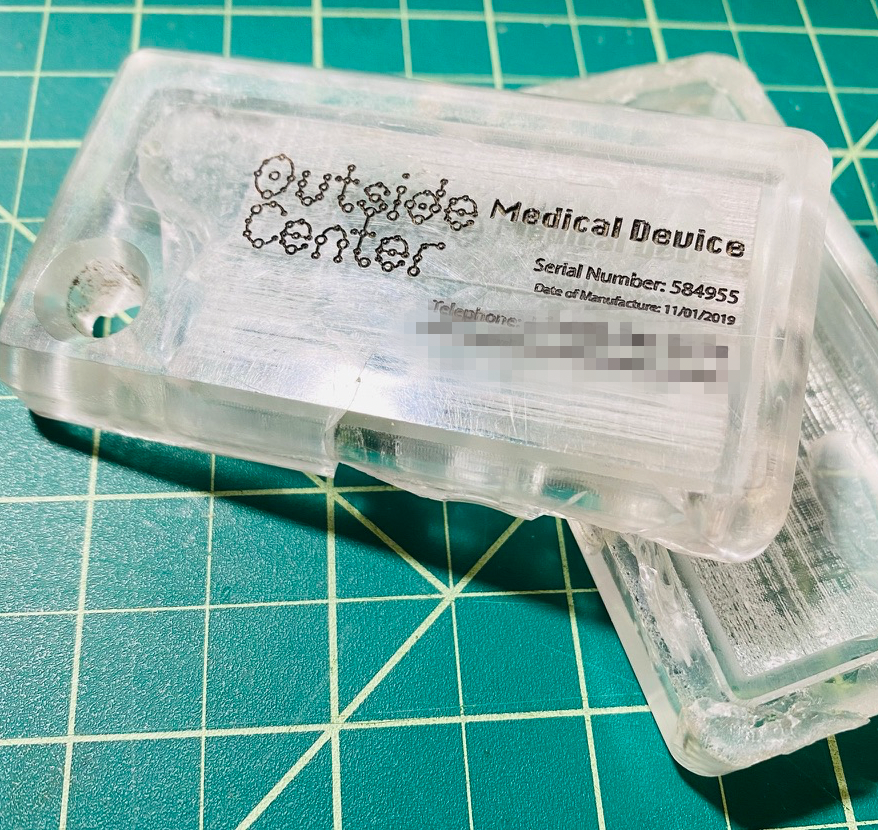
And as for the antenna area, I purposely avoided the epoxy to flow into. This and the last version, I made sure to take as much plexiglass away from the antenna area because there was a citation somewhere (I don’t remember where/whom) about the attenuation of the radio signal in that frequency range from plexiglass somewhat AND I noticed it improved a bit from the earlier version where the plexiglass was just milled enough to house the antenna.

The bonding of the two halves of the plexiglass (about 1/8″ 3mm seam) is quite adequate that I wouldn’t do any extensive epoxy potting on the future versions. May be just some silicone to keep parts from jiggling inside.
You can see in this picture that I tried to leave as much space as I can from the antenna while maintaining the structural integrity of the case on this version.
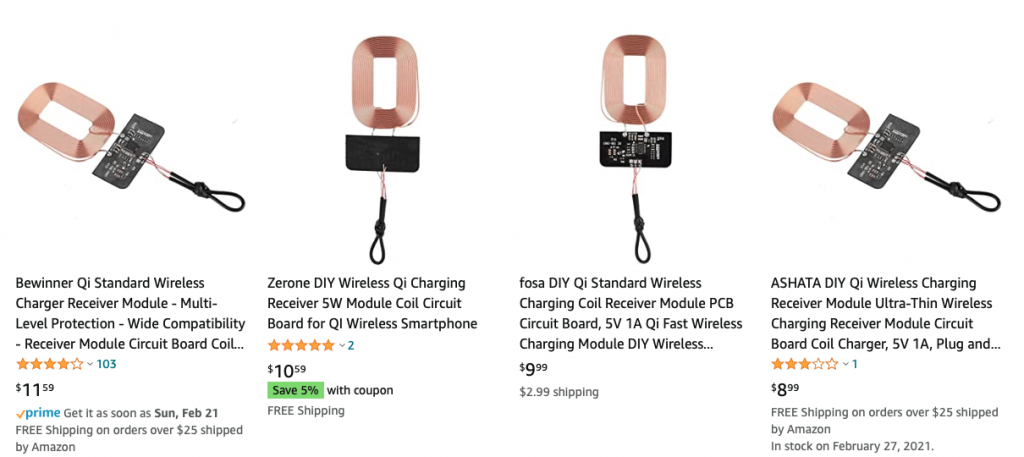
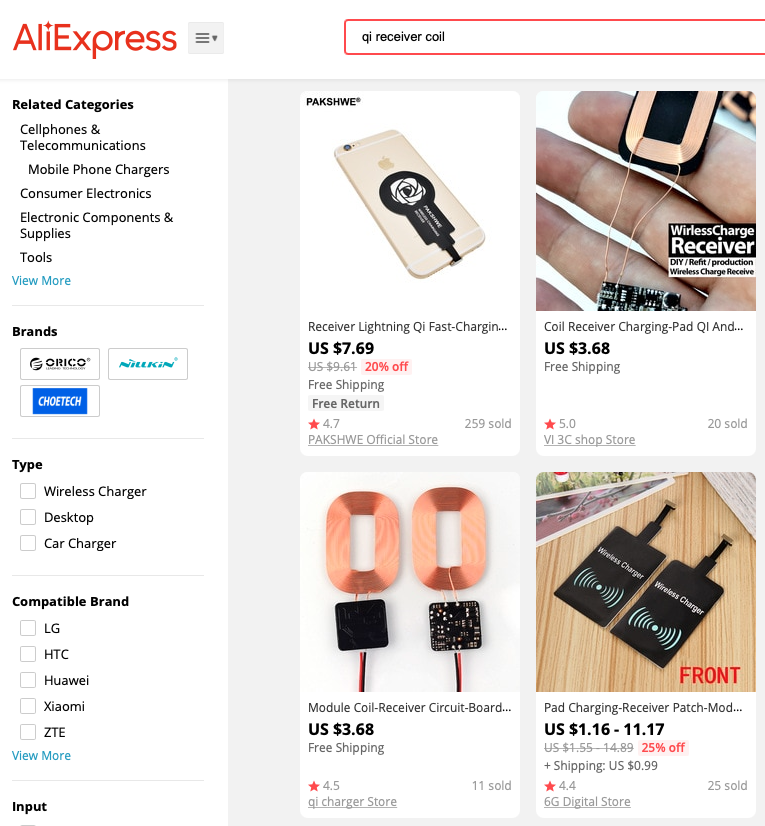
Where to get Qi charger receivers:
Here are some links (they may go dead in the future so will include some screenshots: