DIY Laser Fume Extractor: Part 2 – The Scope & v8.2
Return to DIY Laser Fume Extractor: Part 1
First Thing First:
CAUTION!!
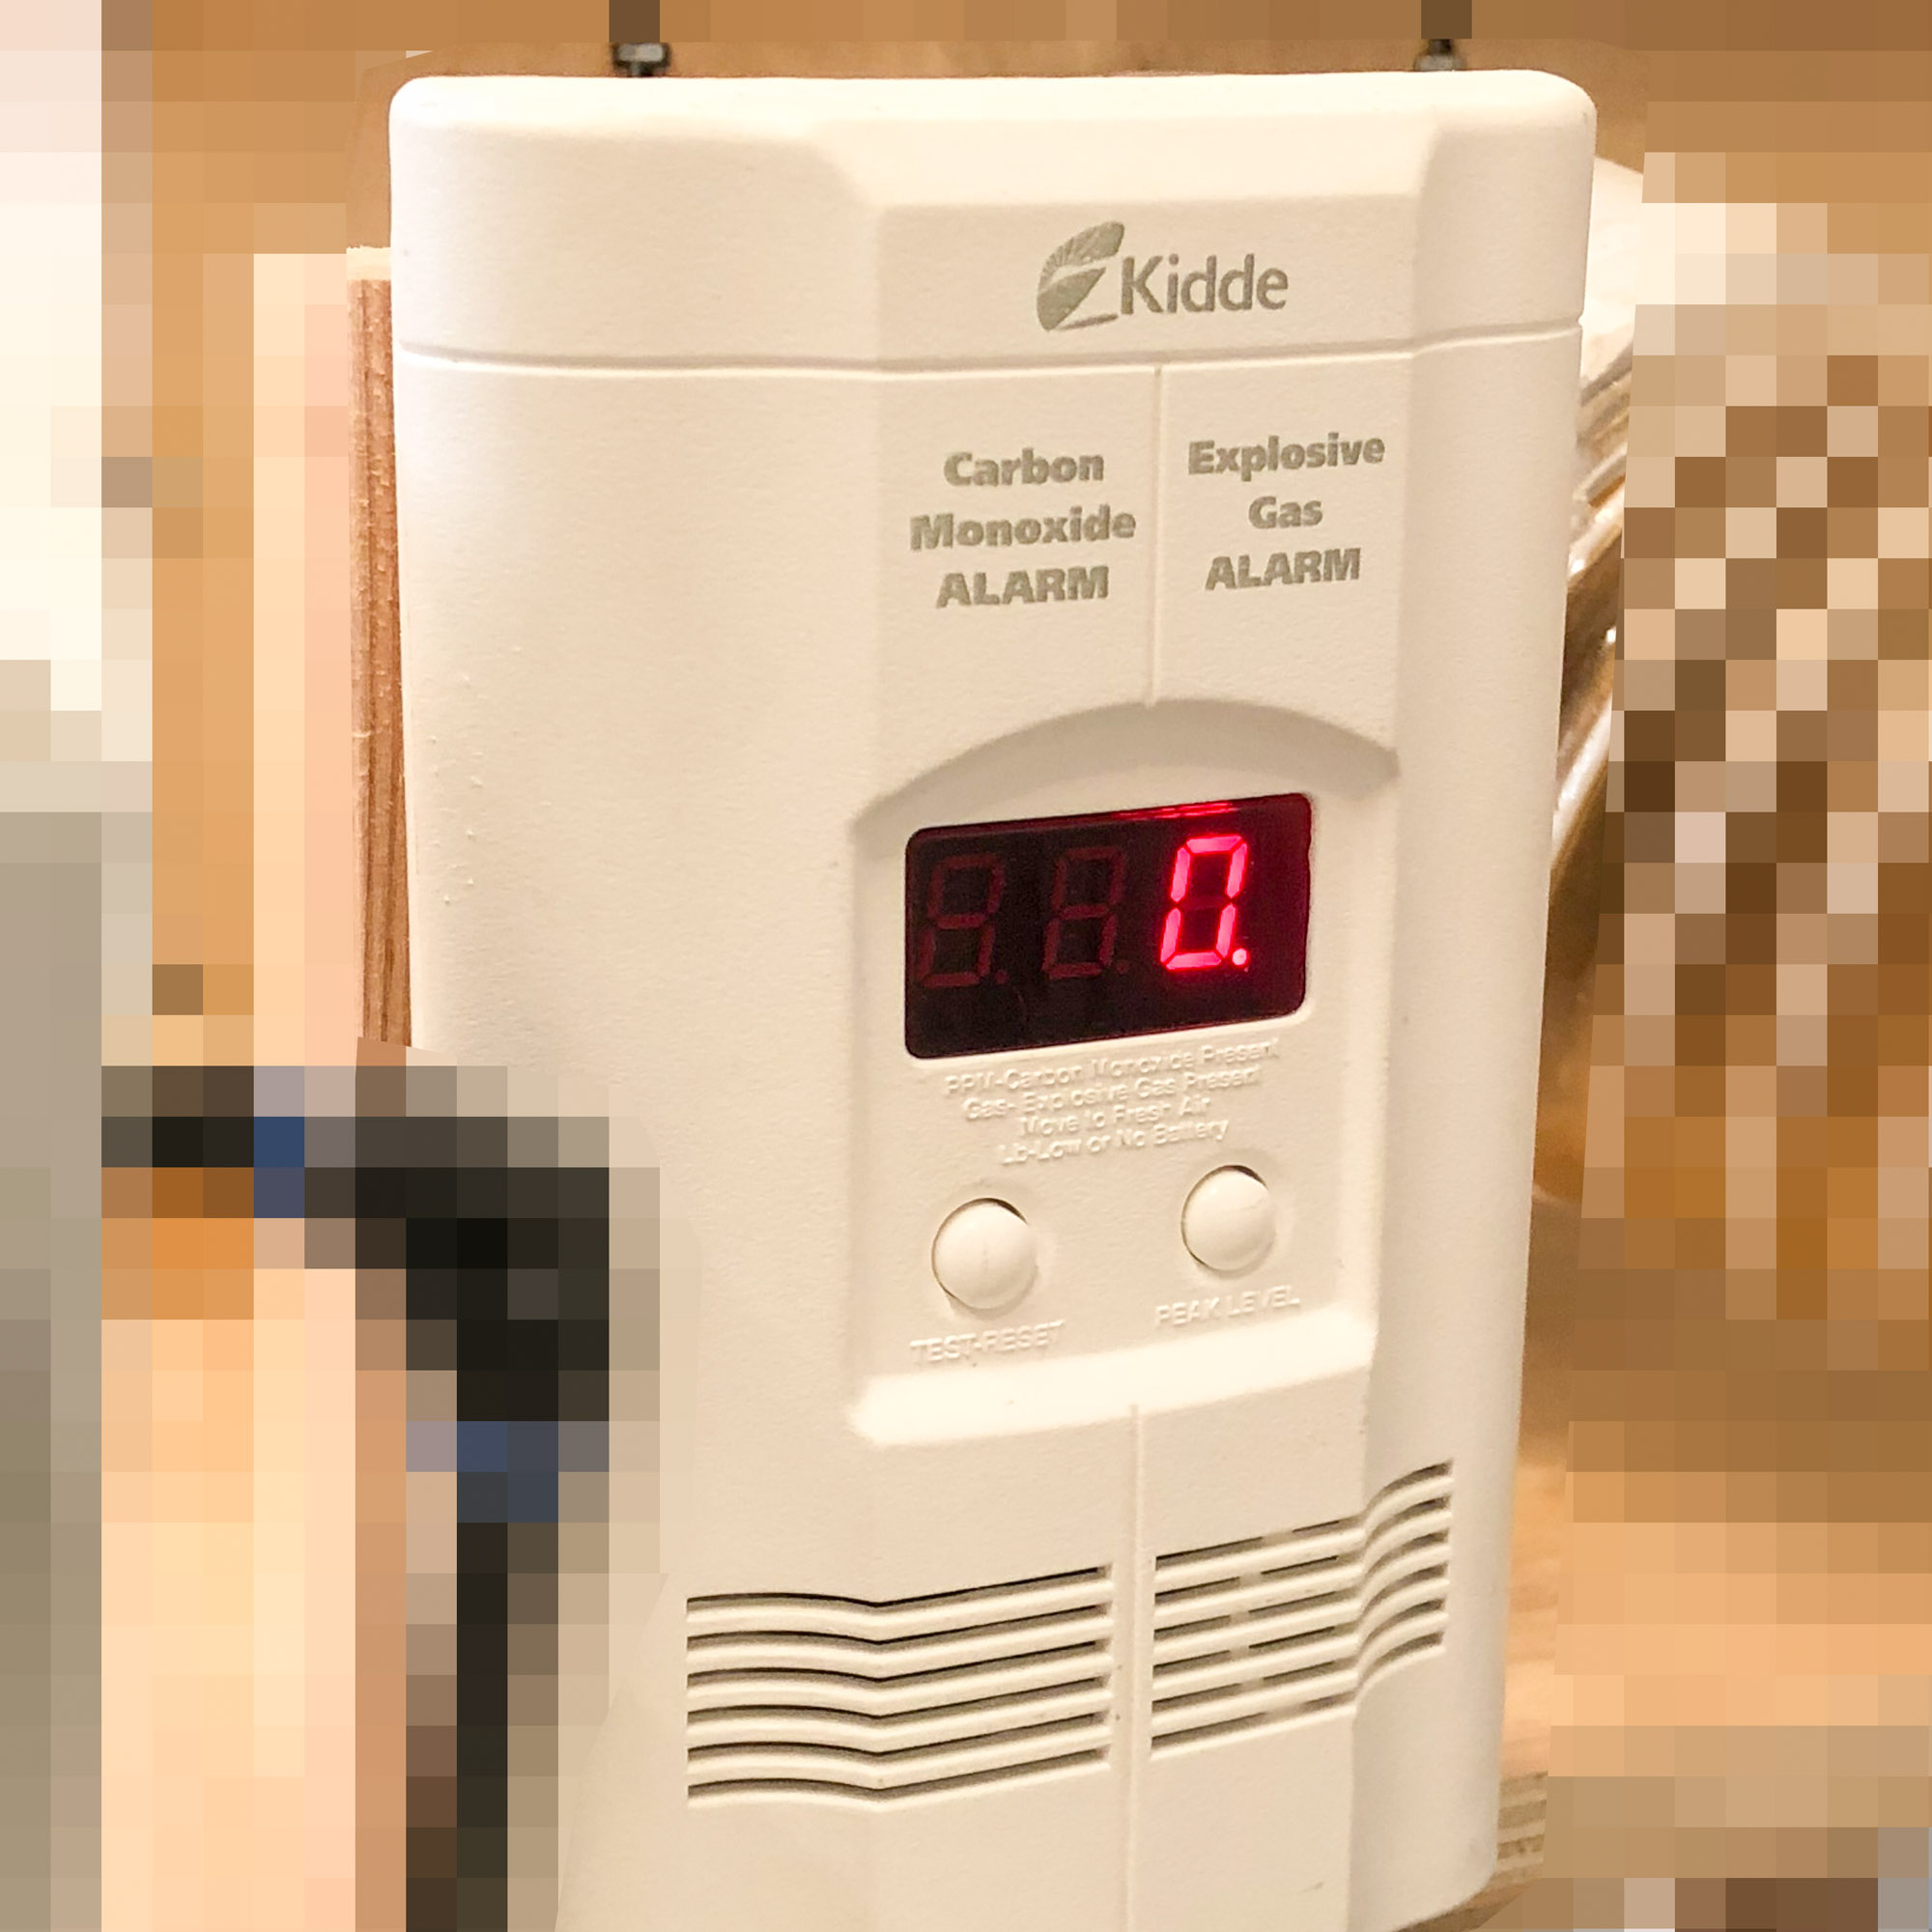
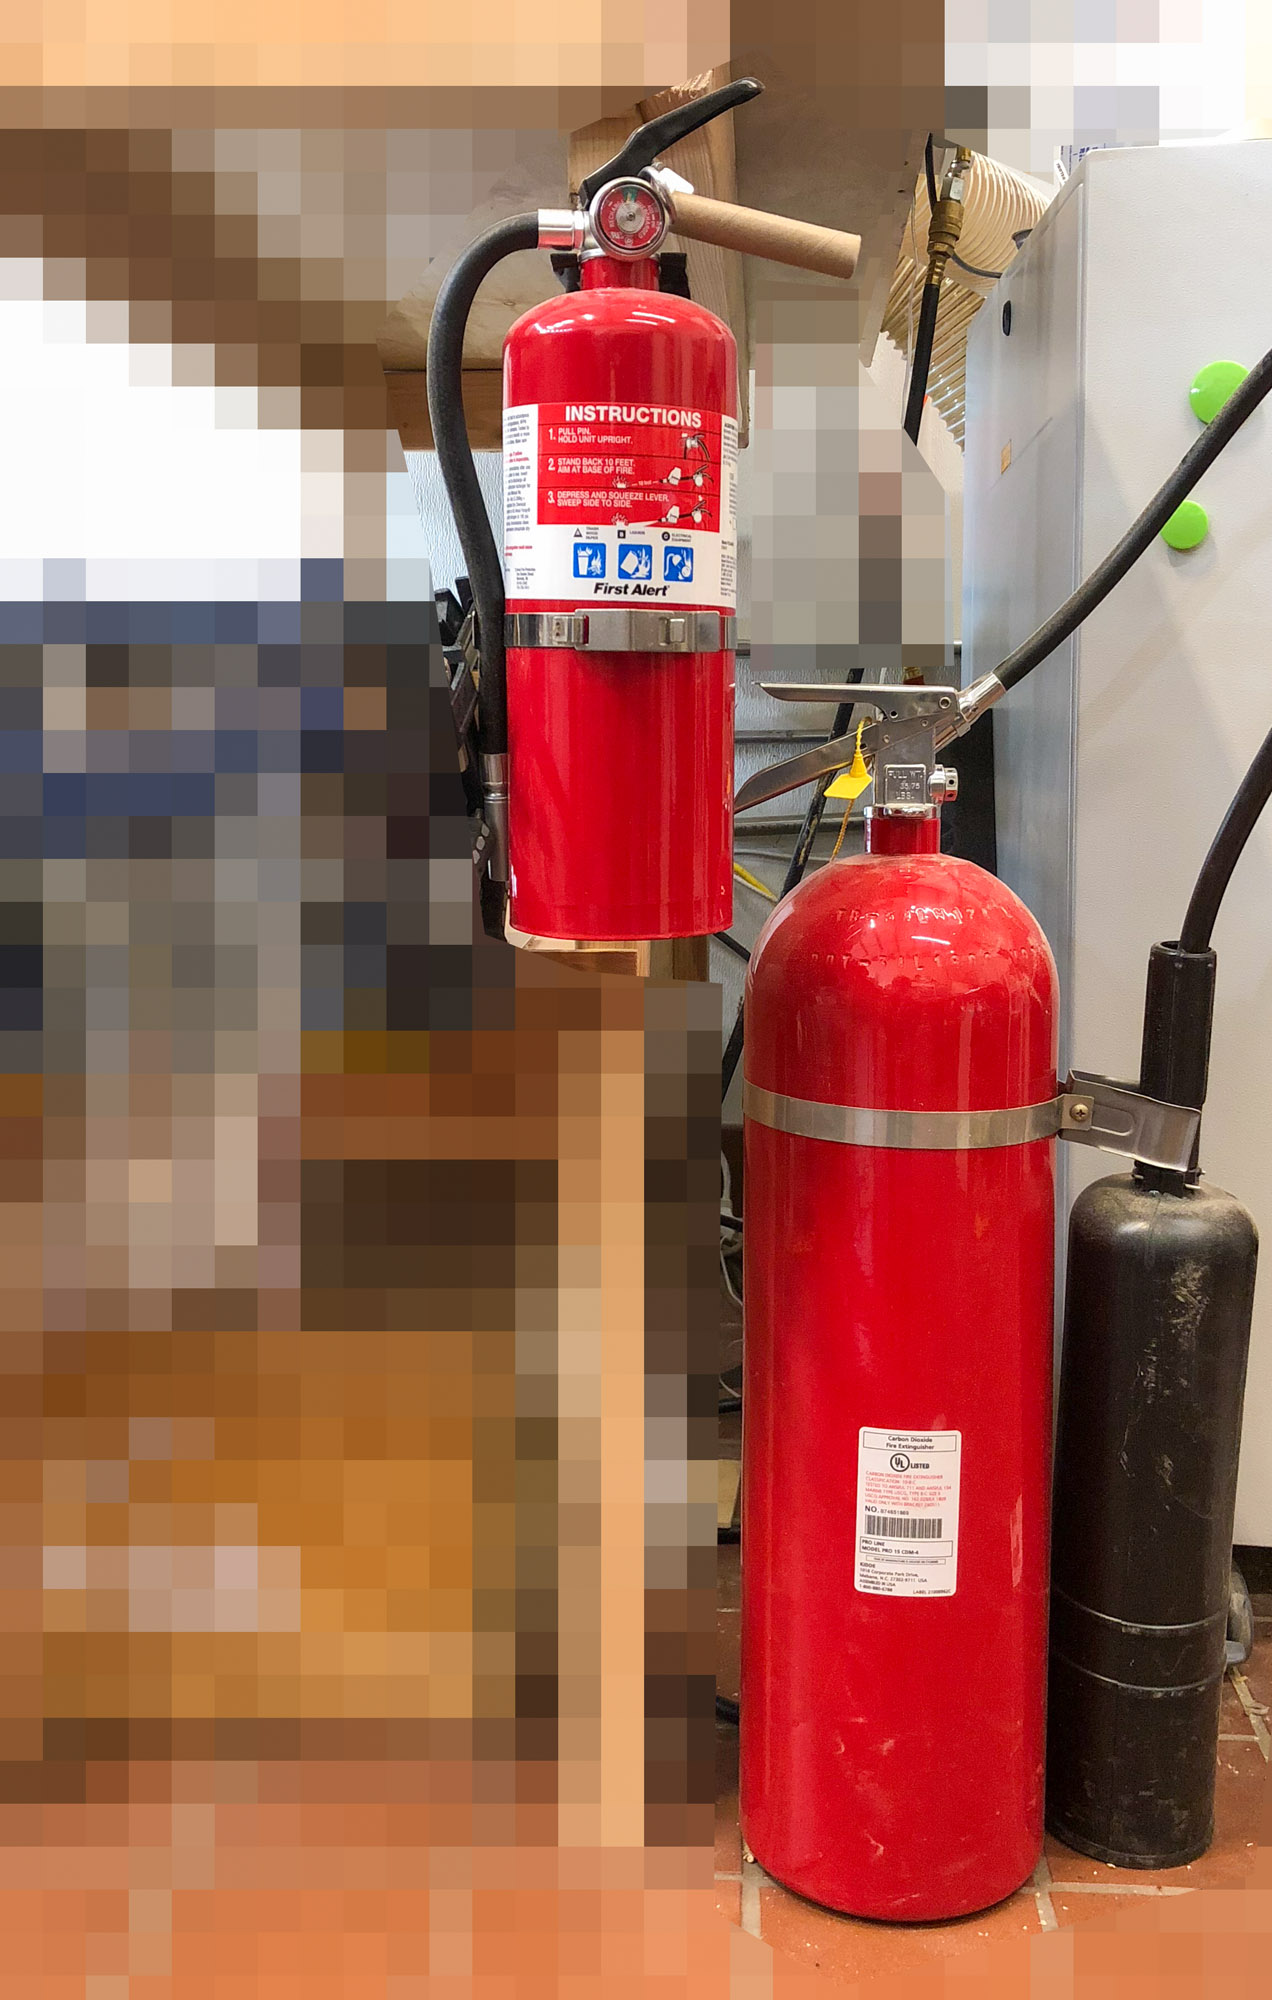
Laser engravers and laser cutters release toxic fumes including carbon monoxide, even when used properly. Some will kill you slowly. SOME WILL KILL YOU FAST!!! Some resulting funerals may be closed casket scenarios. Some will save money by cremating you for you. So please have fire extinguishers and carbon monoxide/explosive gas/smoke detectors set up and ready!!
Activated carbon hazards. Wet activated carbon preferentially removes oxygen from air. In closed or partially closed containers and vessels, oxygen depletion may reach hazardous levels.
Static electricity could build up and spark the fumes too.
As much as we may sound like we know what we are talking about, we are armatures. Please use all information provided here strictly as your entertainment, akin to watching episodes of Good Mythical Morning…
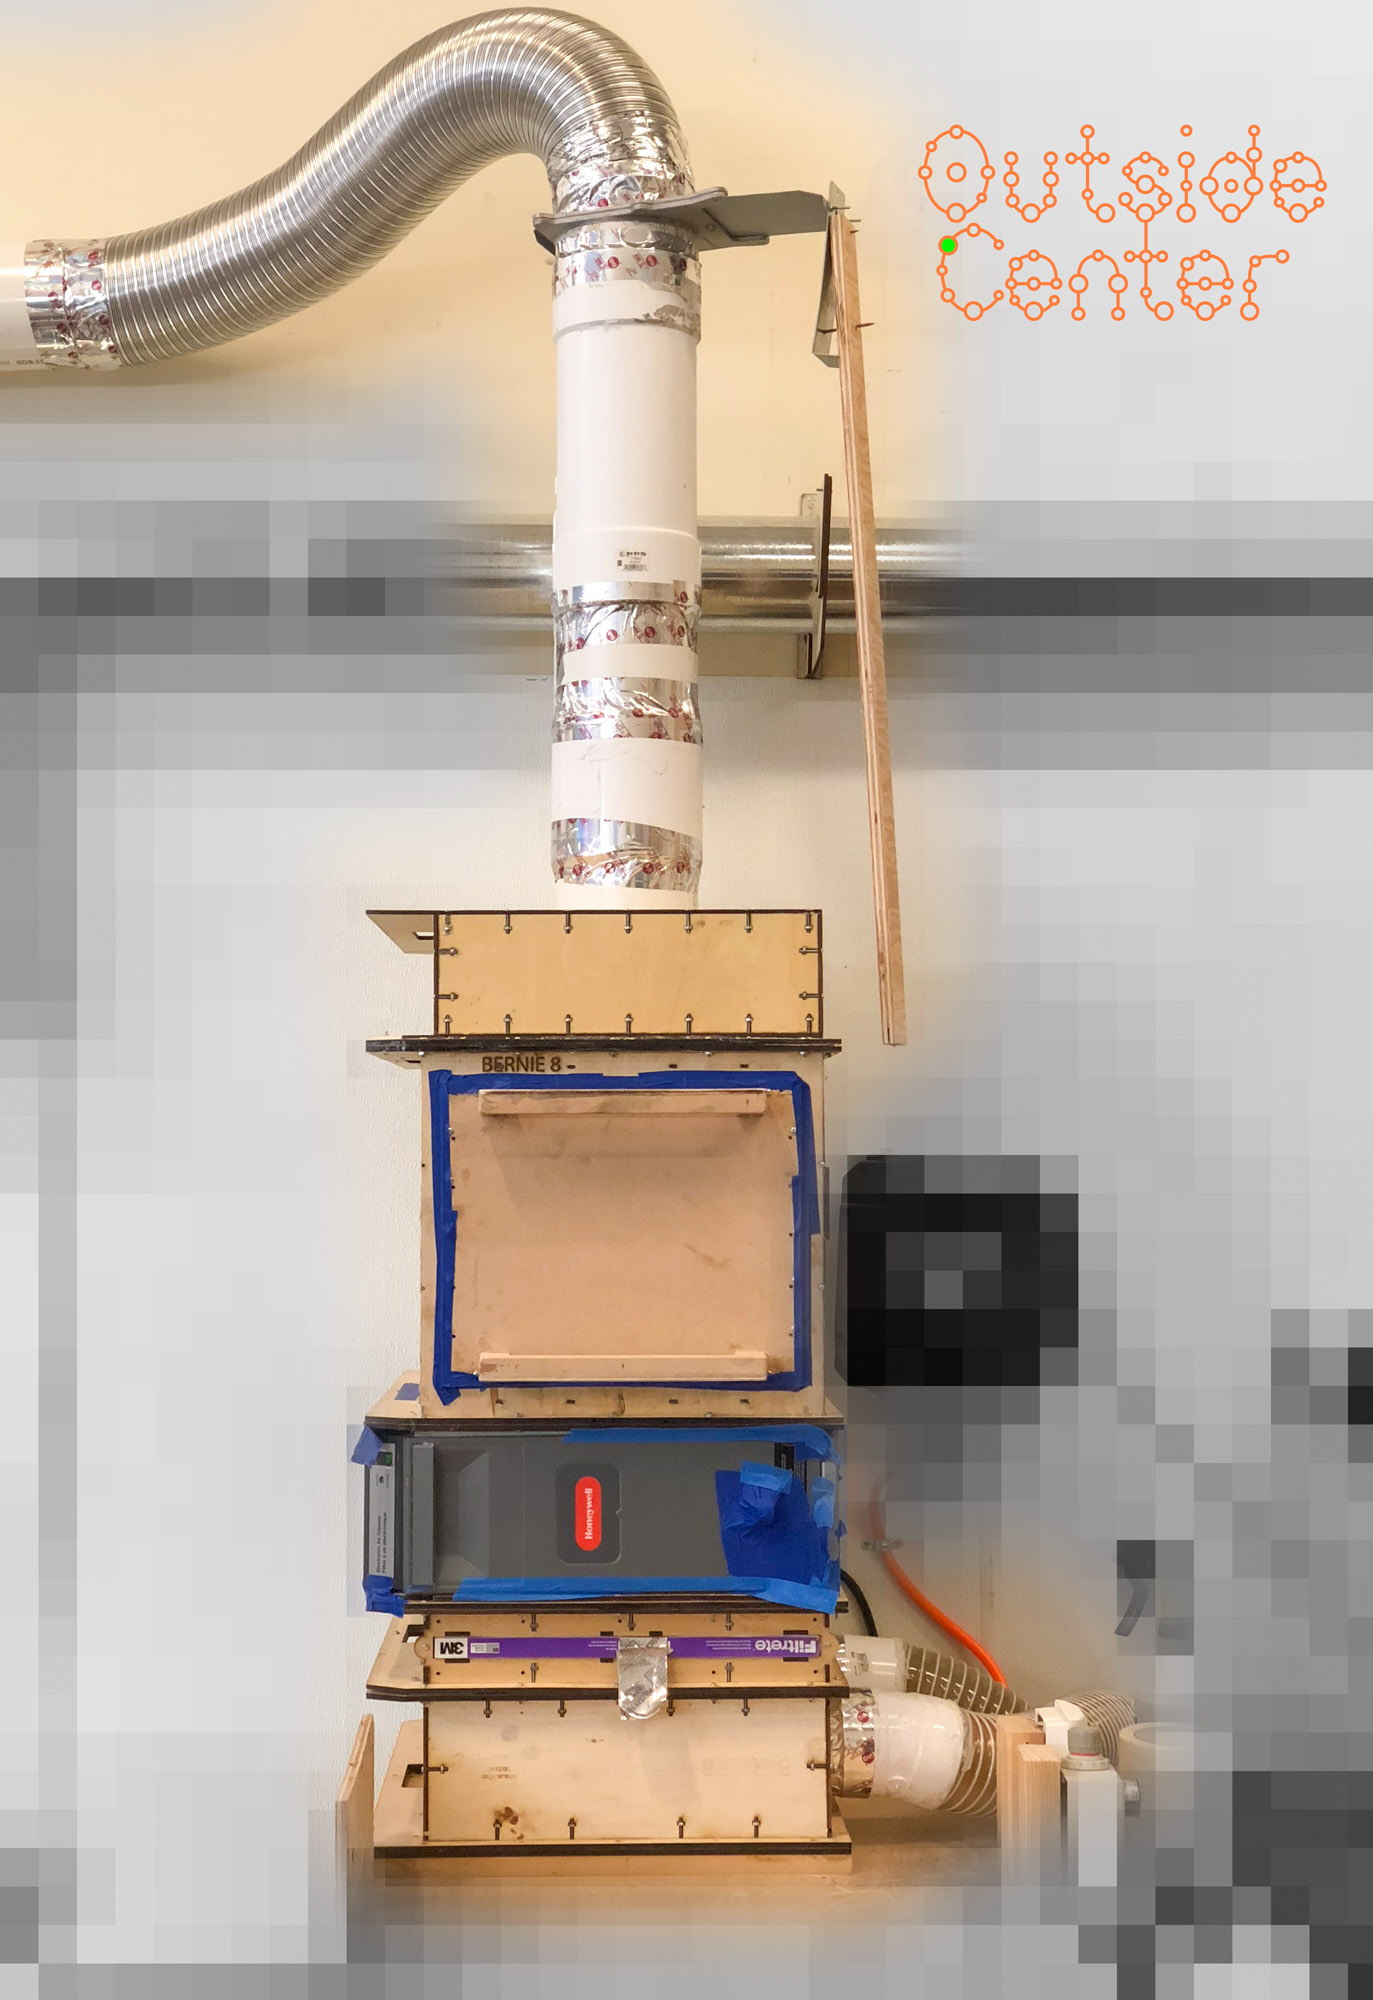
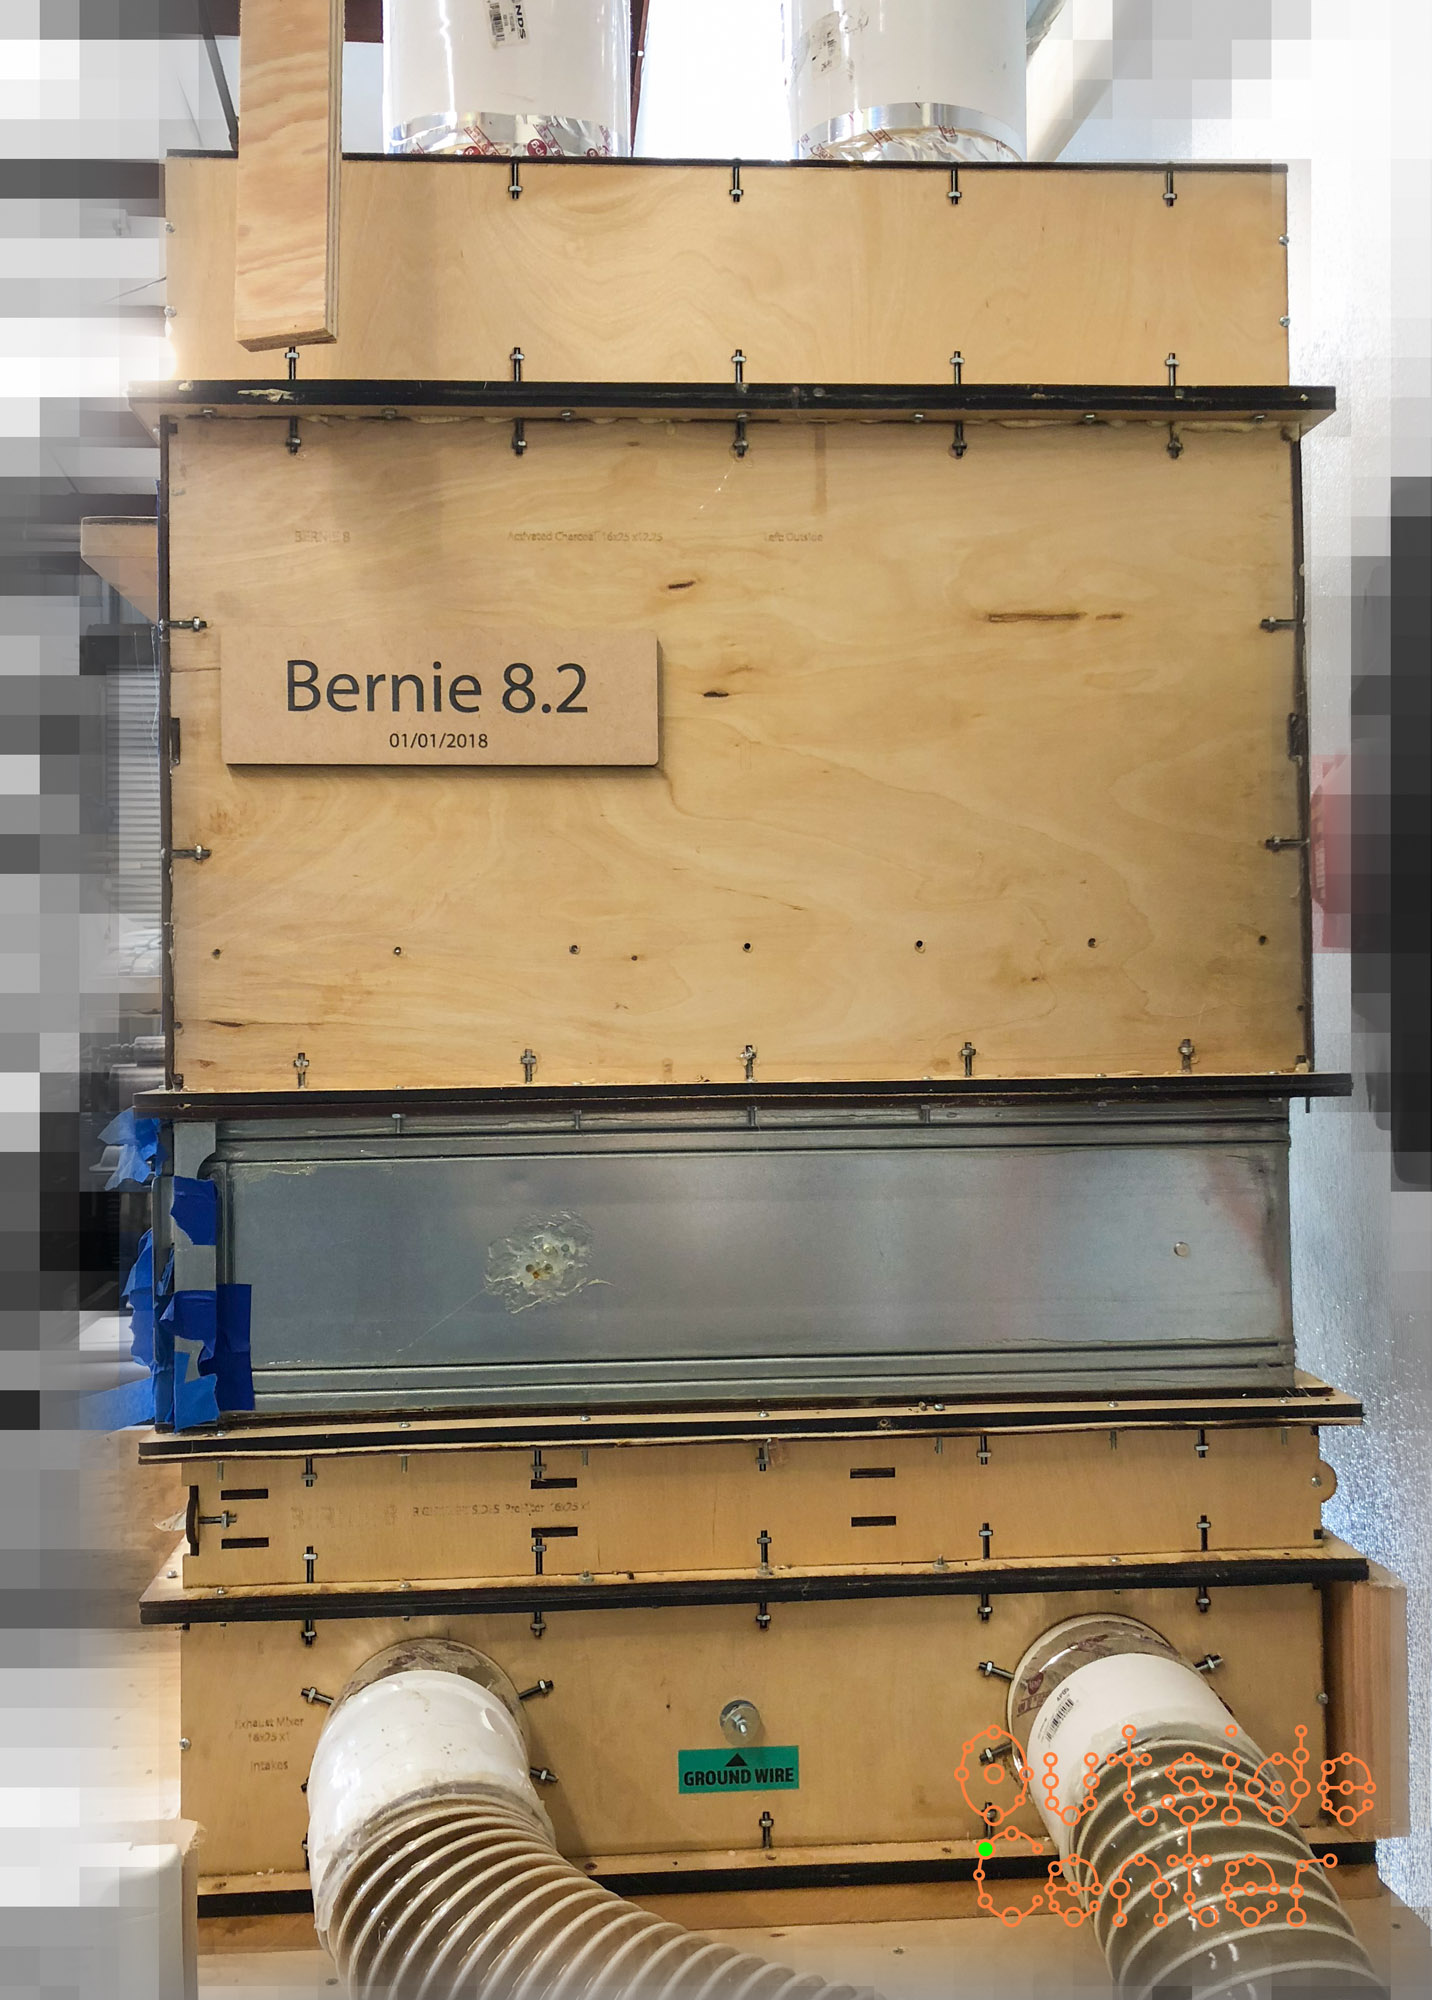
The DIY Laser Fume Extractor, Version 8.2
We were busy improving the fume extractor so at the point of this post, we’ve finalized with a working version, Bernie 8.2. Here are its specs:
Overview:
We initially began designing and testing the laser fume scrubber using a 12 x 12″ form factor for the gas flow. However, we quickly realized that it is just not enough for a continual flow with sustained negative pressure as the filtration media filled with particulates.
At the same time we changed to the current 20 x 25″ design, we changed two major things:
- We made each unit into a modular design so updating one did not mean we had to re-create the entire system. We simply removed the old with the new unit by swapping them out.
- we started to use the Honeywell electronic filter instead of 12 x 12 x 12 ” HEPA filter. The initial cost of the new electro-static filter was about twice the cost of the consumable HEPA filter so in the long run this was definitely more economical solution (about a couple of months). It was about 6″ narrower than the heavy aluminum enclosed HEPA filter as well.
Input Voltage:
- 120V
Exhaust Intake Ports:
- 4″ dia. x 2
Exhaust Output Port:
- 6″ dia. x 1
Stages:
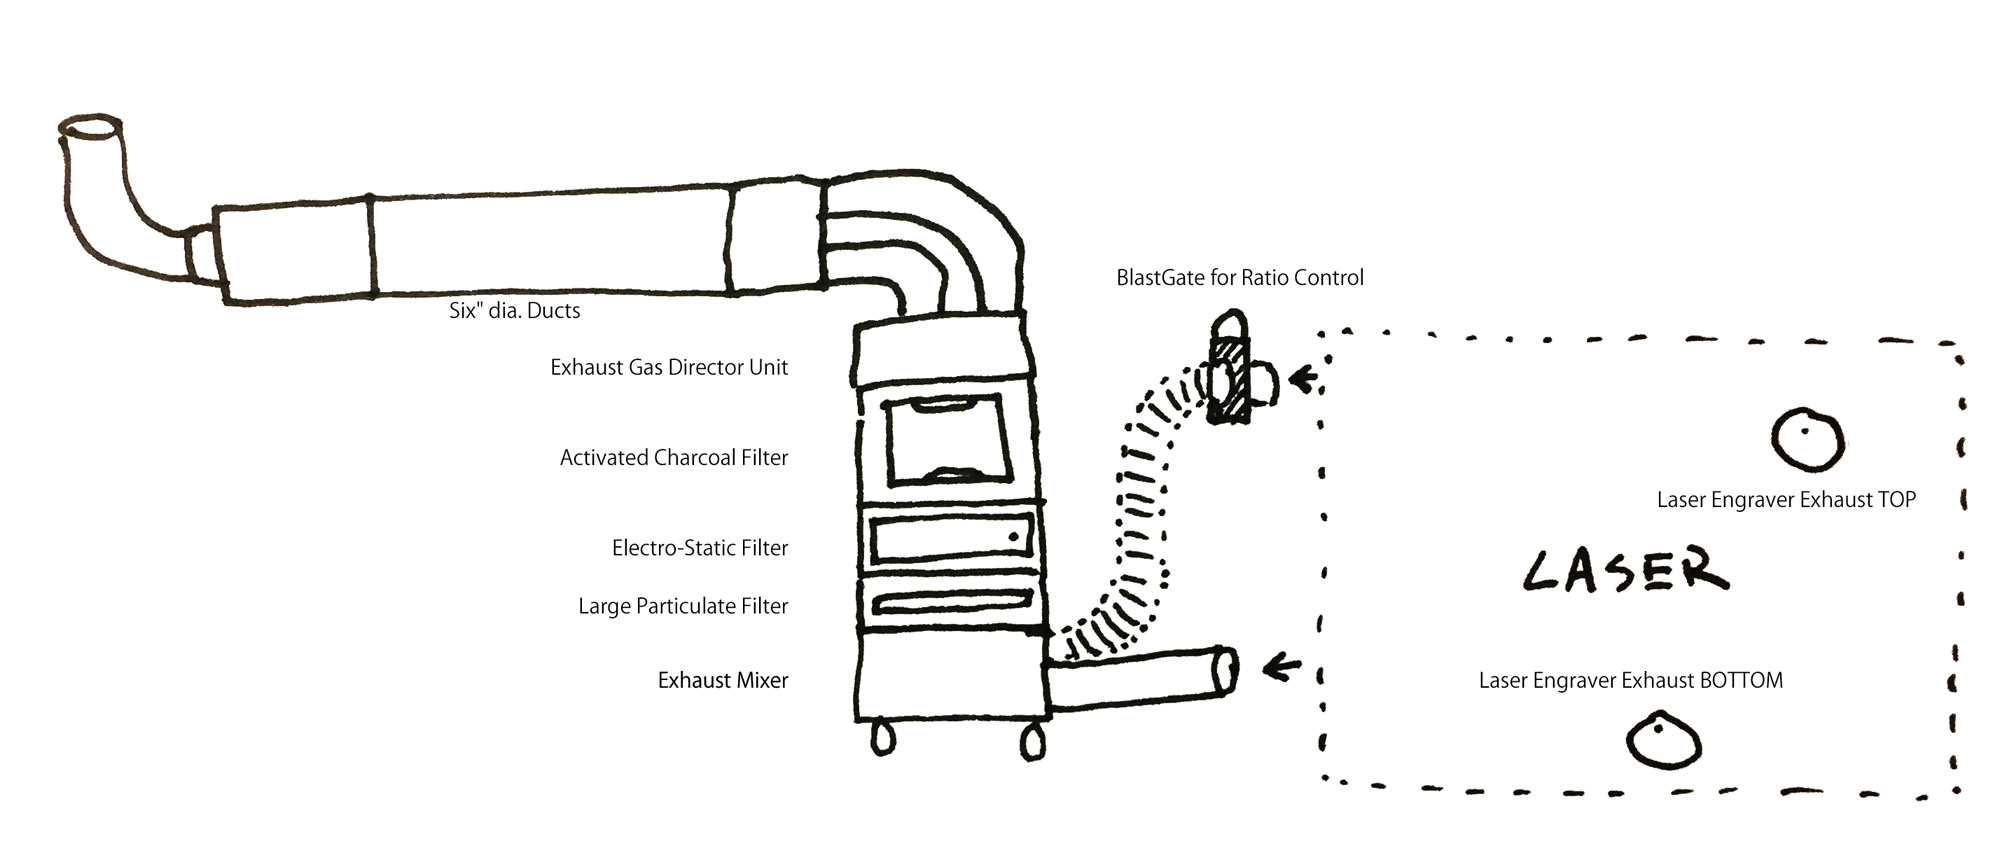
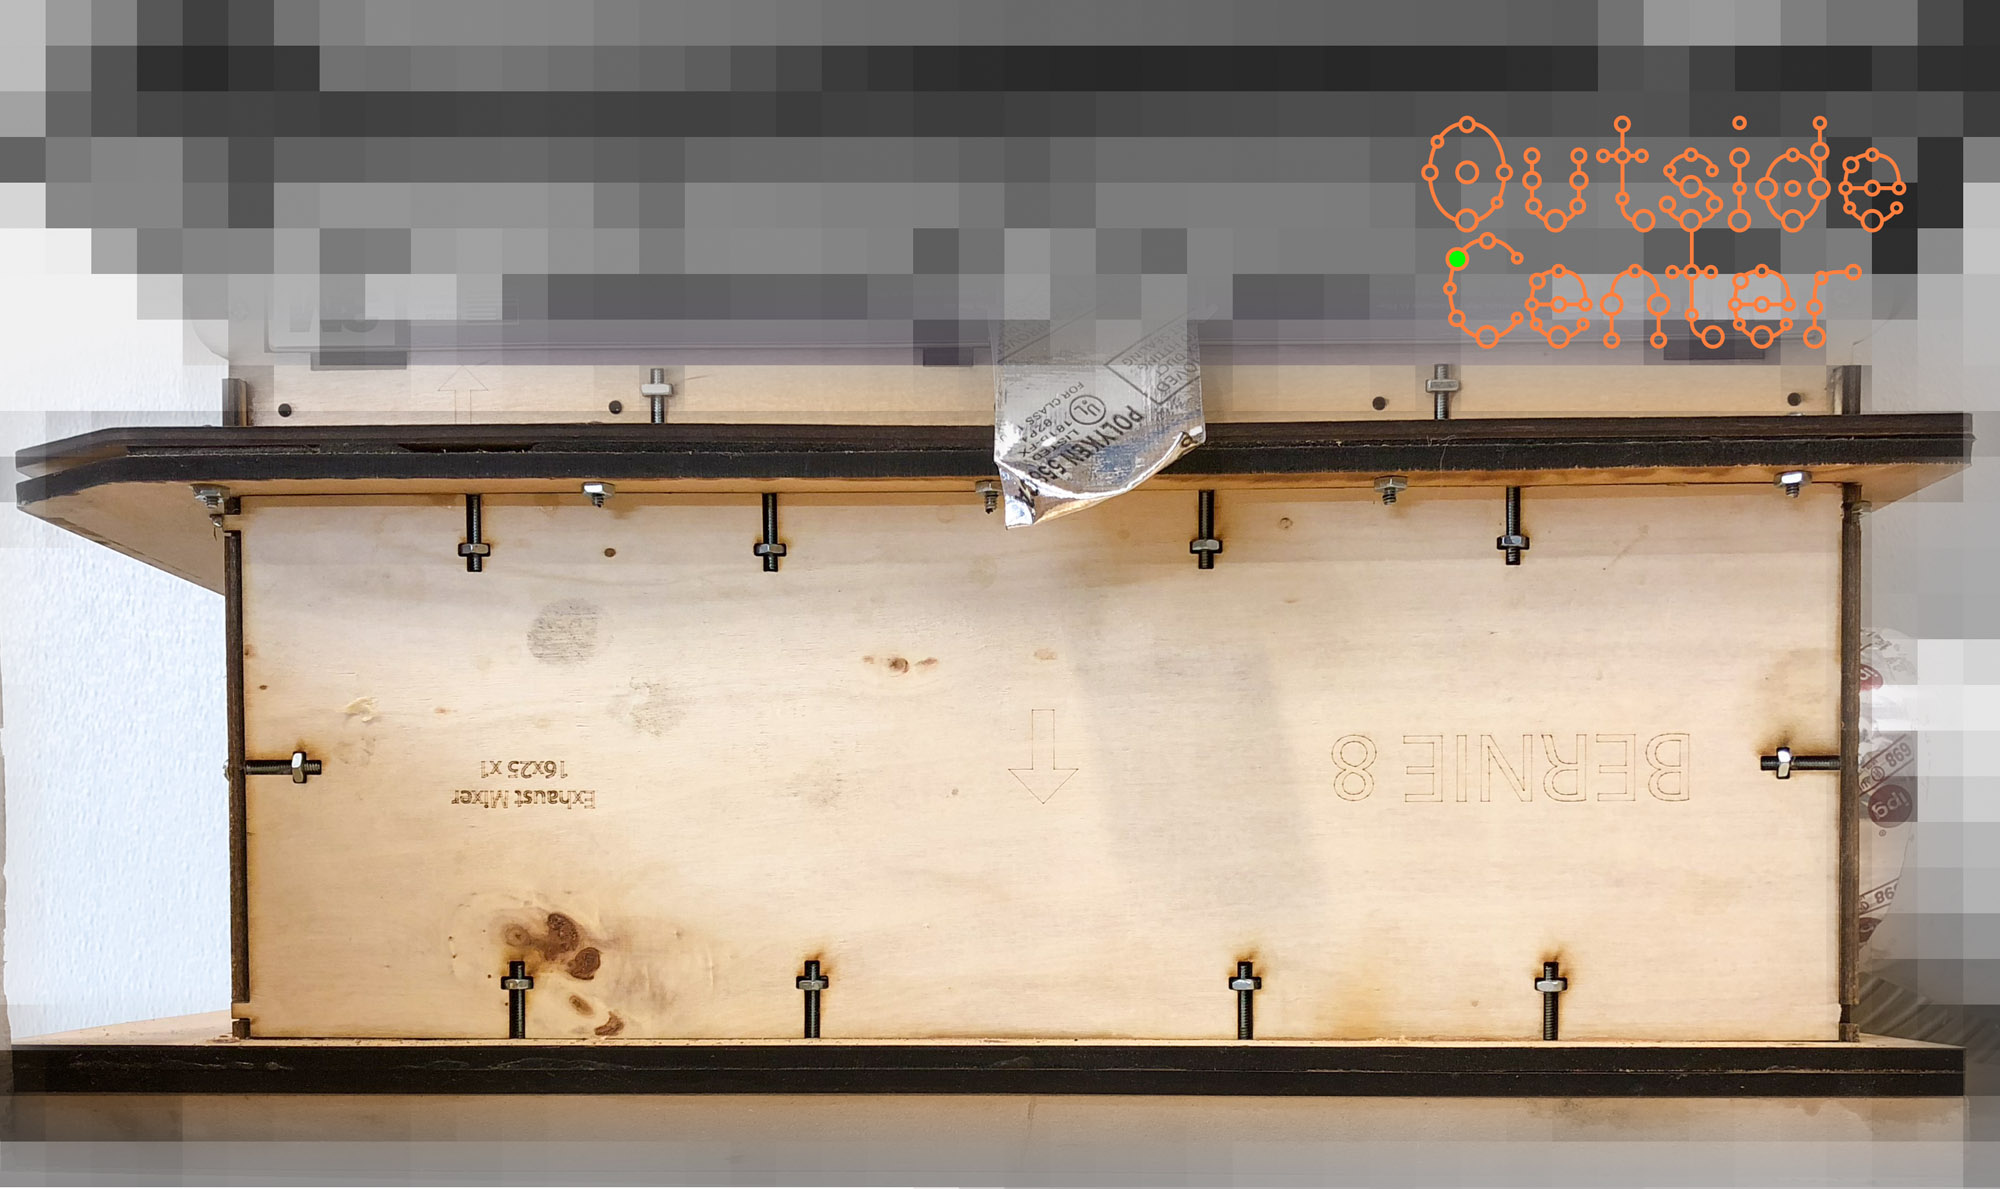
- Exhaust Mixer (4″ dia. x 2)
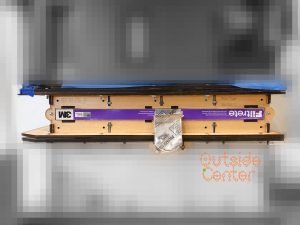
- Large Particulate Filter (16×24″ HVAC MERV 13 Particulate Filter) [see details…]
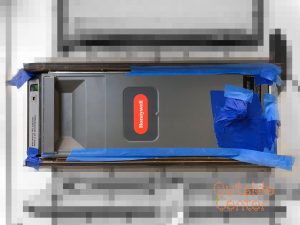
- Electro-Static Filter (Honeywell F300E1019 16 x 25″) [see details…]
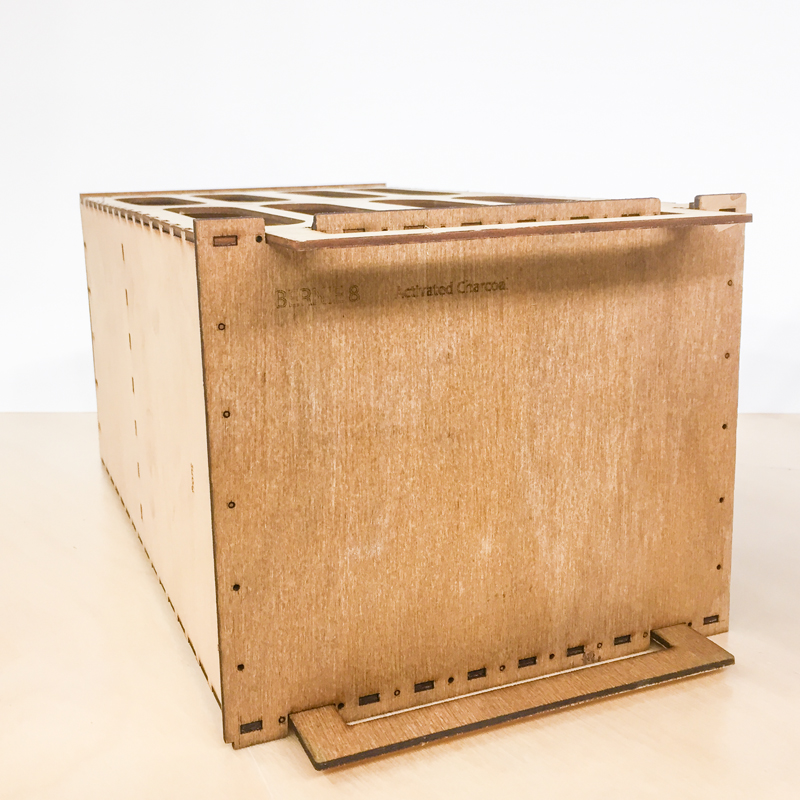
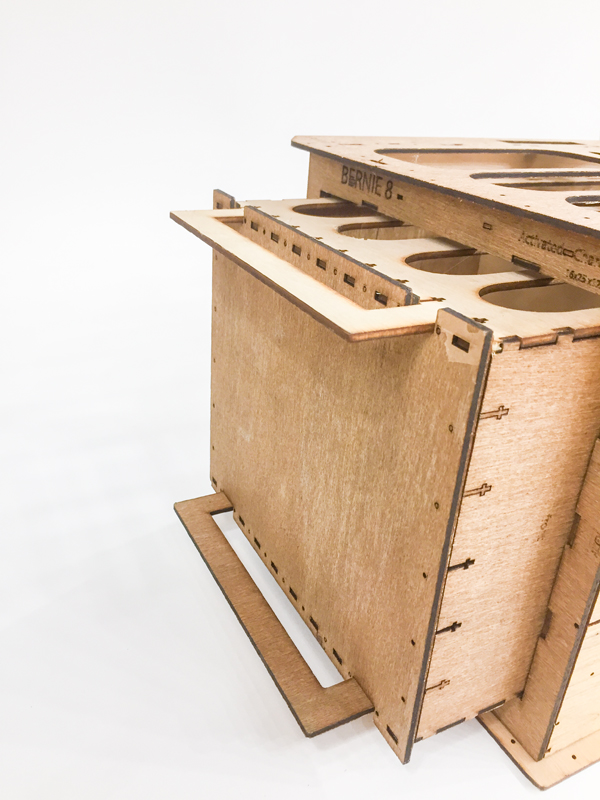
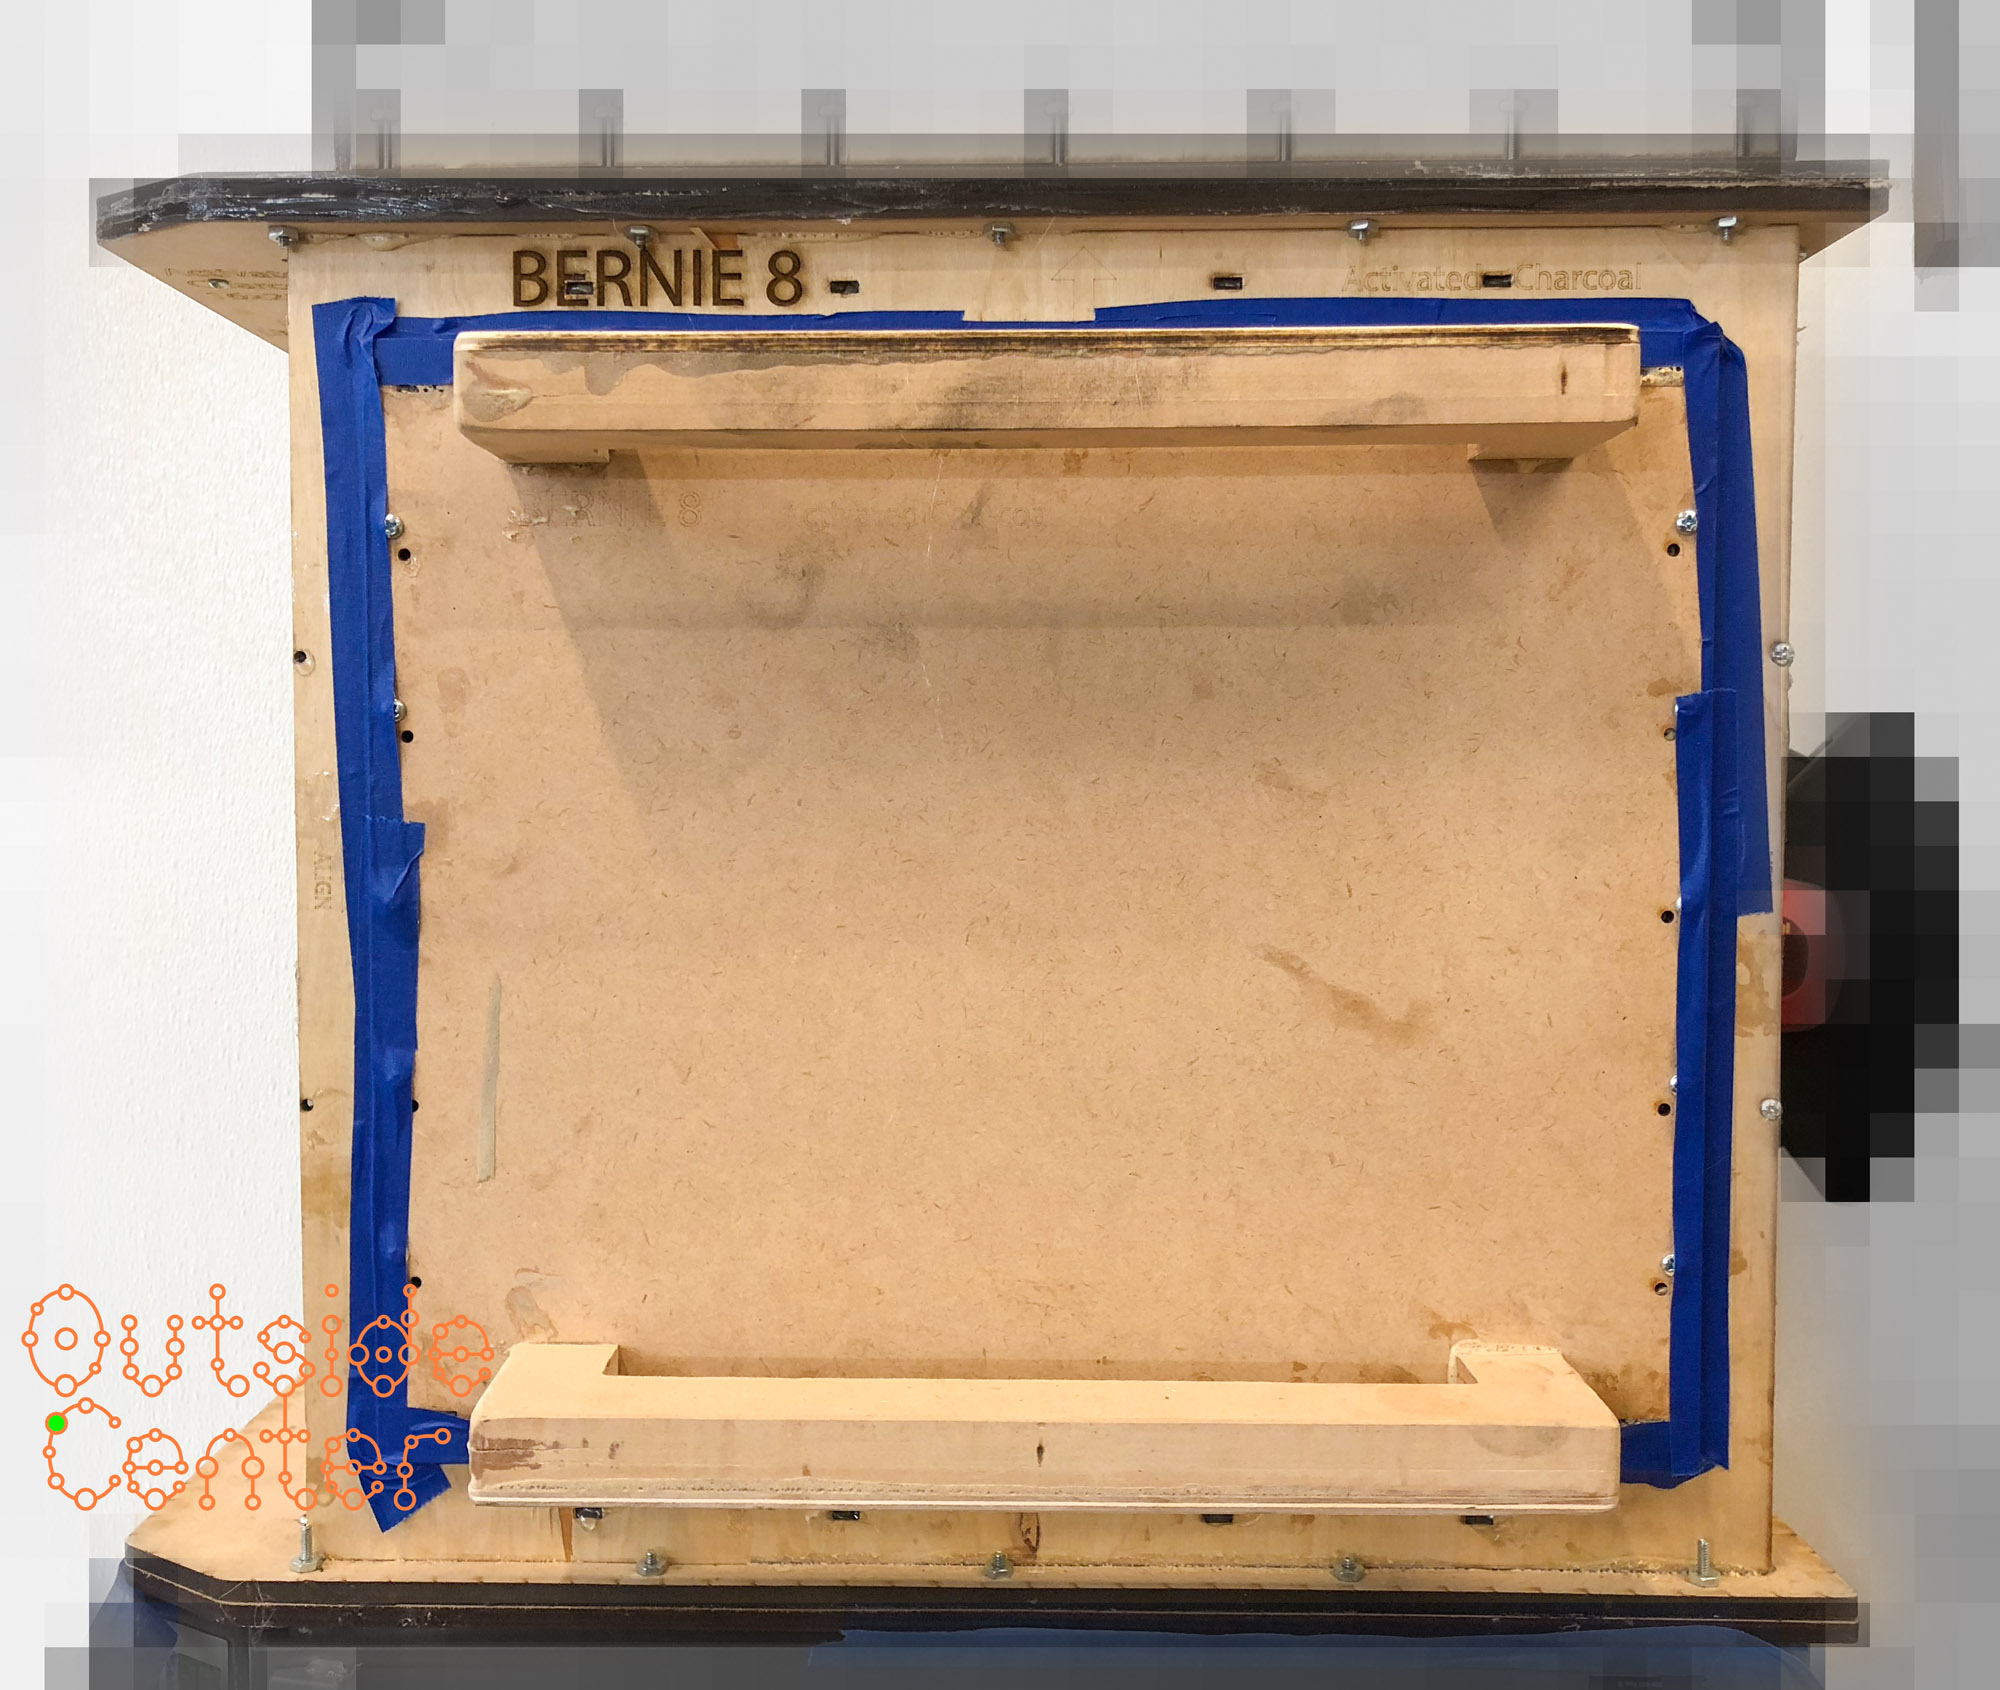
- Activated Charcoal Filter (approx. 14 x 12 x 22″ 4x6mm coal based pellets)
- Exhaust Gas Director Unit (6″ dia. x 2)
- Blast Gate, metal ( POWERTEC 70227 Aluminum Blast Gate, 6″)
- Six” dia. Ducts (Approx. 40″)
- Pre-Blower Muffler, 6″ dia. (VIVOSUN 6 Inch Noise Reducer Silencer for Inline Duct Fan x 1)
- Exhaust Fan box with a Centrifugal Blower (B-AIR Kodiak 1/2 HP Bounce House Blower x 1)
- Post-Blower Muffle, 6″ dia.r (VIVOSUN 6 Inch Noise Reducer Silencer for Inline Duct Fan x 1)
Structural Materials:
- 1/4″ Birch Plywood*
- 1/4 MDF*
- 1/2 MDF
- 6-32 Machine Screws & Nuts
- Urethane Wood Glue
- Hot -Melt Glue
- 4″ Irrigation PVC Sch. 1 tubings
- 6″ Irrigation PVC Sch. 2 tubings
- 4″ Flexible Dust Collection duct
- 6″ Metal Corrugated Flexible Duct
- HVAC Tape
- Blue Masking Tape
- Aluminum Drip Edge Flashing 12″ roll
- Metal bug screens
* Both the birch plywood and MDF are quite porous. So it’s probably best to use either pre-finished plywood or coat the outside of the units using 3 part water 1 part PVA glue to seal them.
Safety and Safety Features:
- Kidde KN-COEG-3 Nighthawk Plug-In Carbon Monoxide and Explosive Gas Alarm with Battery Backup x 1
- Kidde 466182 Pro 15 Carbon Dioxide Fire Extinguisher, Electronic Safe, Environmentally Safe, UL Rated 10-B:C x 1
- Rear Exhaust Blower (to maintain negative pressure throughout the system to minimize leakages)
Equipment:
- Laser Engraver
- Table Saw
- Screw Drivers
- Metal Snips
- Adobe Illustrator, CC 2018
Consumables:
- 16 x 25 x 1″ Merv 13 Filter
- 3,700 cubic inches of Coal Based Activated Charcoal Pellets (4 x 6mm)
Assembly Hints:
- After allowing the negative pressure to build up, put some hot-melt glue on the seams and screws to seal any gaps.
Maintenance:
- As needed washing of Electro-Static filter unit x 2
Overview:
Right Side:
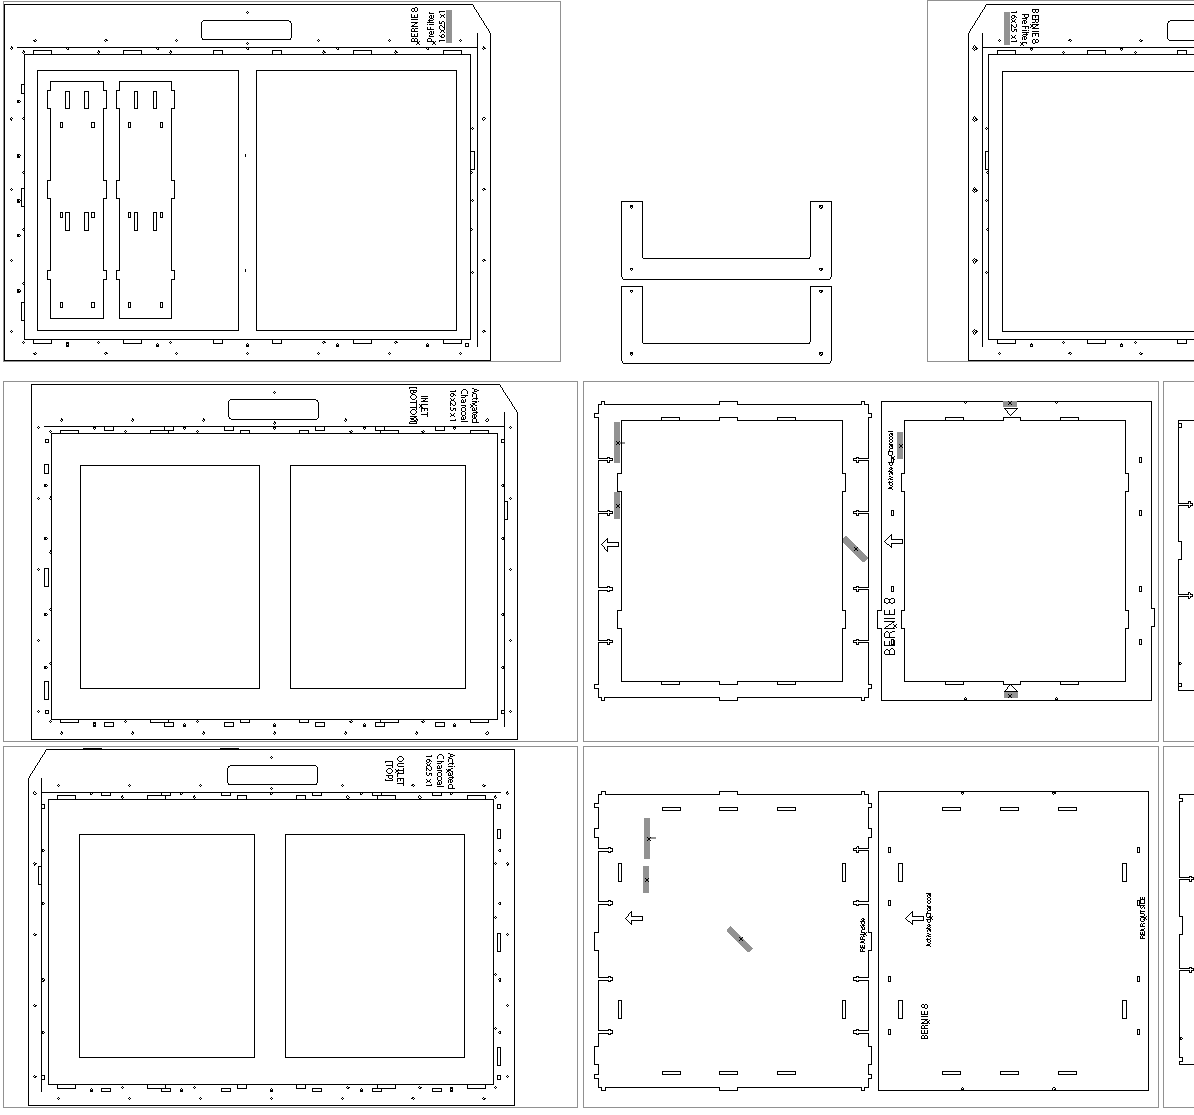
Unit Views and Descriptions:
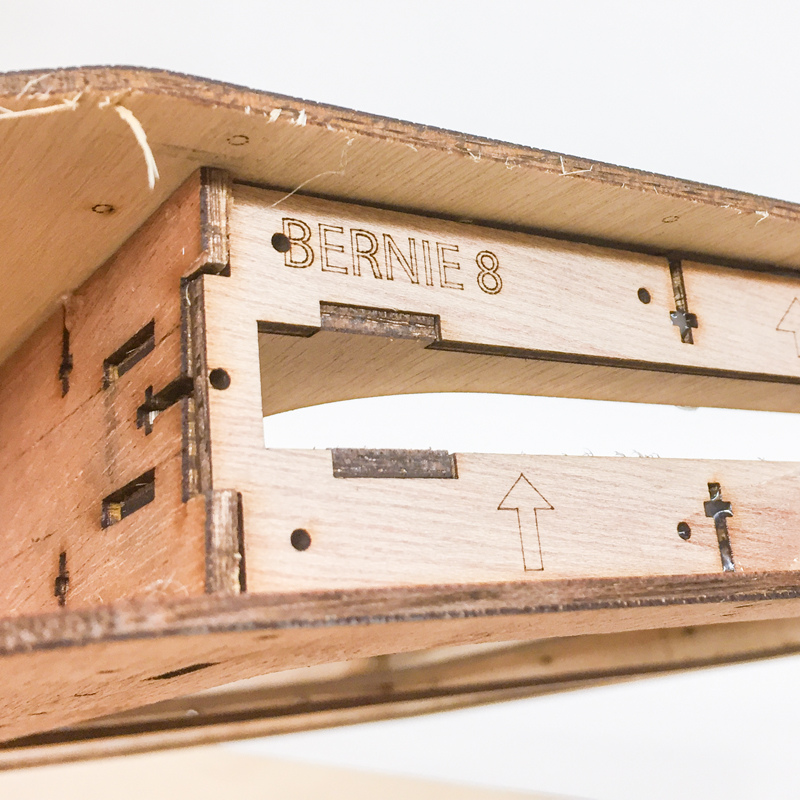
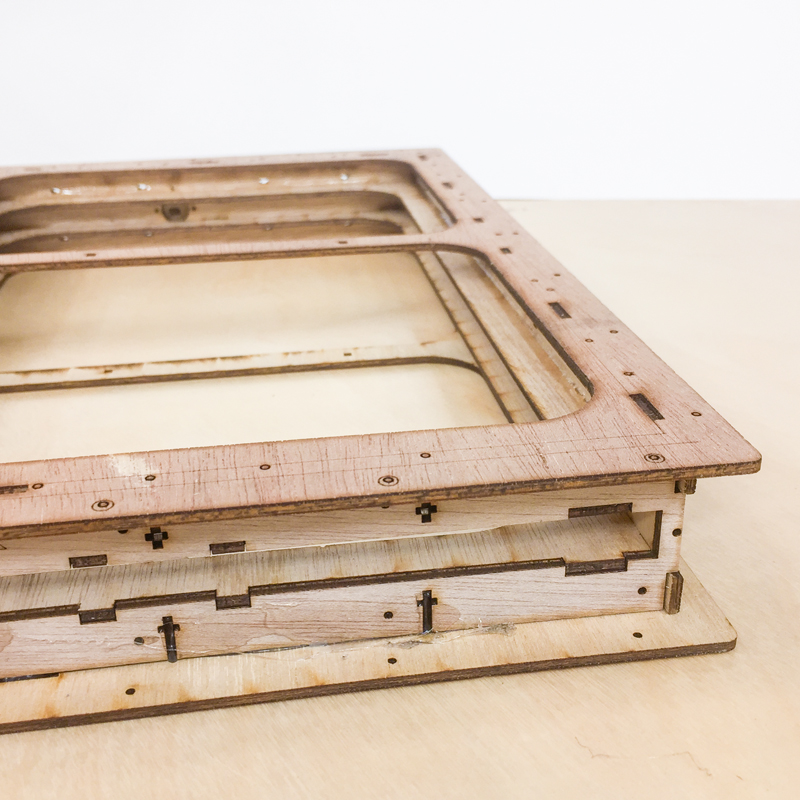
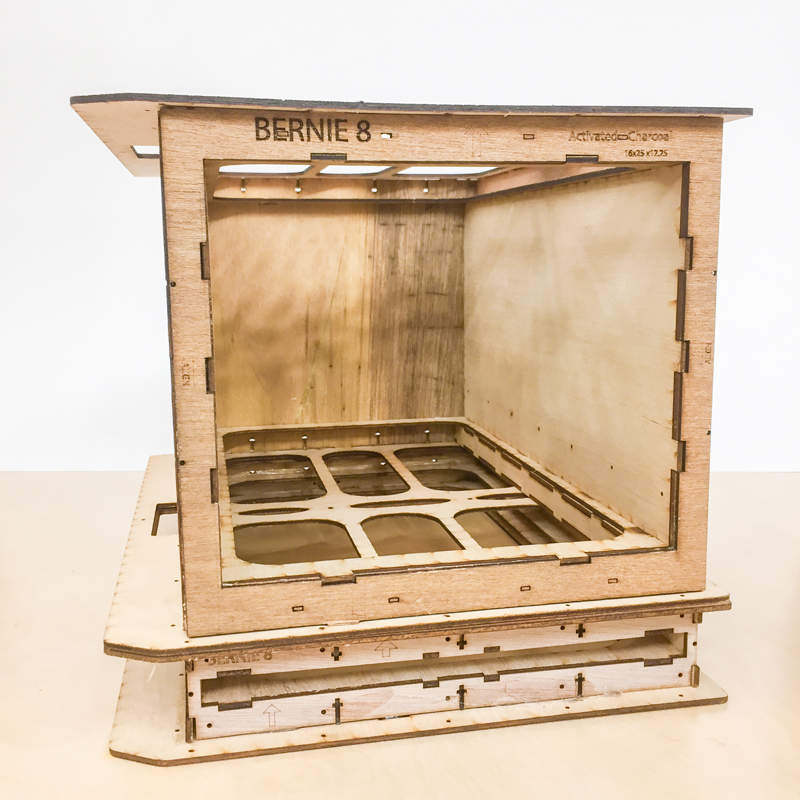
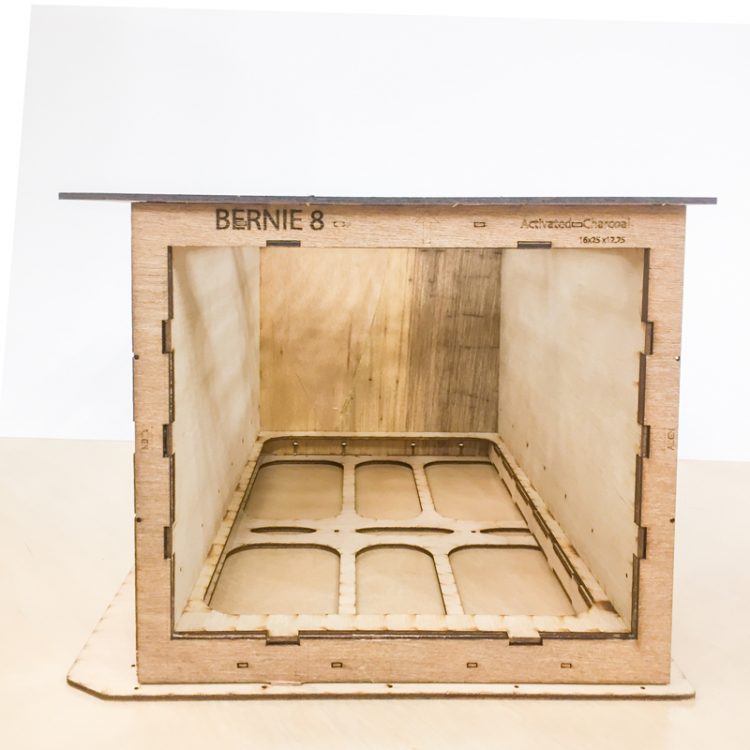
Prototype Views:
The following images are of 1/2 size models using 1/8″ thick “door skin” which is approximately 1/2 the thickness of the 1/4 birch plywood. This was easily achieved by scaling the drawing appropriately before outputting to the engraver. These plywood pieces fit together for testing the structural integrity and fit, even though the screw holes are too small to simulate. Between the smaller size and thinner materials, it is much faster to cut these using the laser.